Saturday, July 26, 2014

more layout stuff

Took some of the blocks and lay them out on the bed..just for fun..missing colors are blue and yellow..


Thursday, July 24, 2014

Working on blocks

Working at joining the blocks today.  Spent a productive day at getting the blocks put together.  Got all done and was putting stuff away and realized that I was sewing them together wrong.  So..seam ripper time !!!

So, truing up the smaller squares ..


So when I got done, I laid out a few of the blocks just to see how fragmented they looked.  Not bad..


Tuesday, July 22, 2014

Working on the baby quilt for Kim

Still plugging away on the baby quilt for Kim's daughter.

I have cut all the blocks into 5 inch squares.  I laid out the fabric pieces on my big table, and began adding color (bling) to each of the corners.  I was having so many problems remembering top from bottom and which square I wanted to make into part of a 9 inch square, that I began to label each block.  Each color has nine blocks so I labeled them 1 through 9.  Each big square is made up of four smaller squares, a - d.  And I labeled each top so I knew which way was up.  haha.

A few trial pieces showed me that apparently I can't sew a straight line free hand, so I drew a line to sew on, on each piece.  So I am sewing assembly line to gets the bling on.


Wednesday, July 2, 2014

Back to sewing non stop again

Ok..started a new project.  Lang's niece is having a baby near Xmas, so her mother asked me if I would make a crib quilt for the new baby.   We worked out which pattern she wanted and she bought the fabric and sent it to me.  The pattern calls for some bling pieces and she forgot to send the bling..which is fine, cause I have lots of scrap fabric...and it gives me an excuse to use up the different fabrics I have.

The quilt pattern is called:  Diamond in the Rough.


It will look like this:  


So I have been cutting and trying to match scraps to the blocks with the idea of creating little bits of "pop" throughout the quilt.  The scrap fabric in the center will not match on the seams and the more varied the colors, the more bling it adds to the piece overall.  Because I want the overall pattern to be pleasing, so have put everything up on the flannel board.  I will be putting the 5 inch blocks back into a 9.5 inch block and then rearranging the colors according to the pattern I have drawn out.  When the four blocks are joined together, they form a rough diamond in the middle.. :-)  .

Here is the darker of the beiges that will become 6  9-inch blocks.


Wednesday, March 19, 2014

The need to sew..!!

I had surgery on Feb 24, 2014, and needed to take it easy.  Which was okay, but I began to feel I needed to feed the addition.  While I was resting, Lang decided to paint the living room and hallway.  And then we finally attached the new curtain rod to the wall like it should have been done.  Well, that necessitated getting new curtains.  The ones we saw were of a weave pattern, but needed to have a backing.  Since I had about 20 yards of white linen fabric...sure, piece of cake..  Well, I got one done before I needed to take a day or two off..then I finished the other one.  They came out looking nice, so that fed that fix.
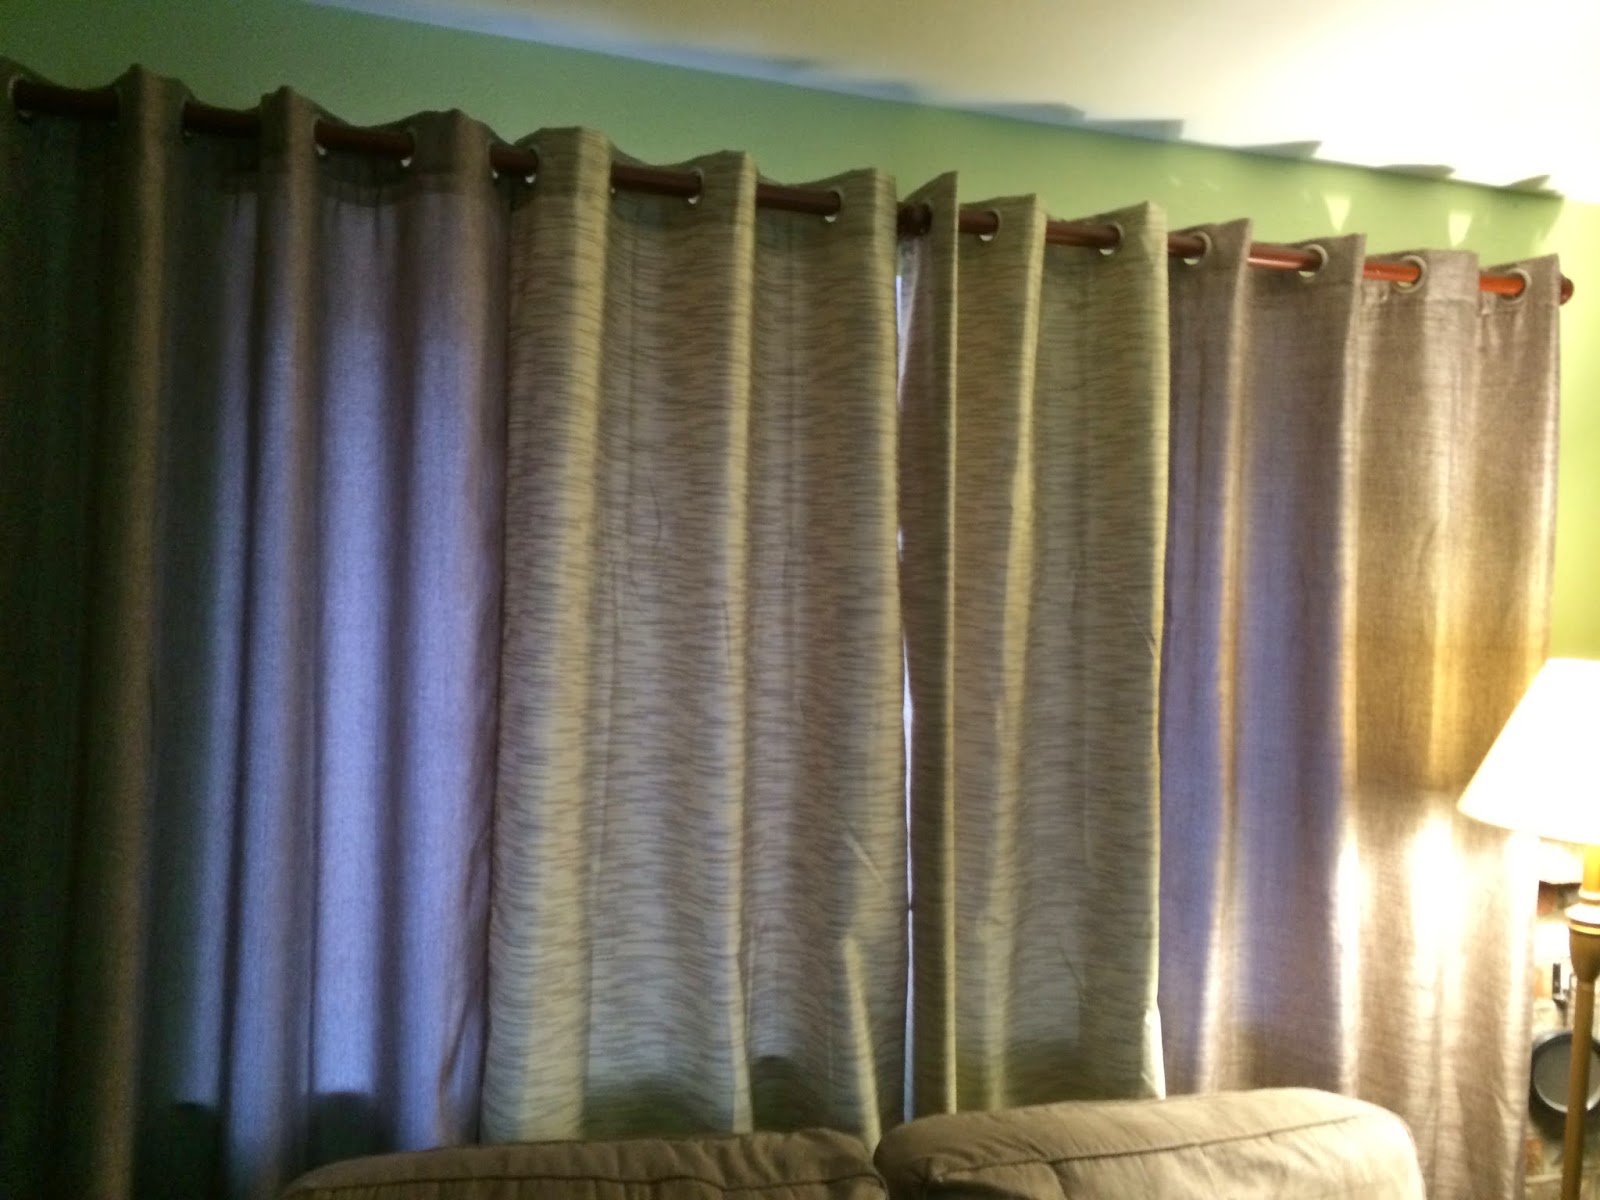
  The outer brown weave is what I put the panels on.  The inner greenish pattern already had a backing on it.
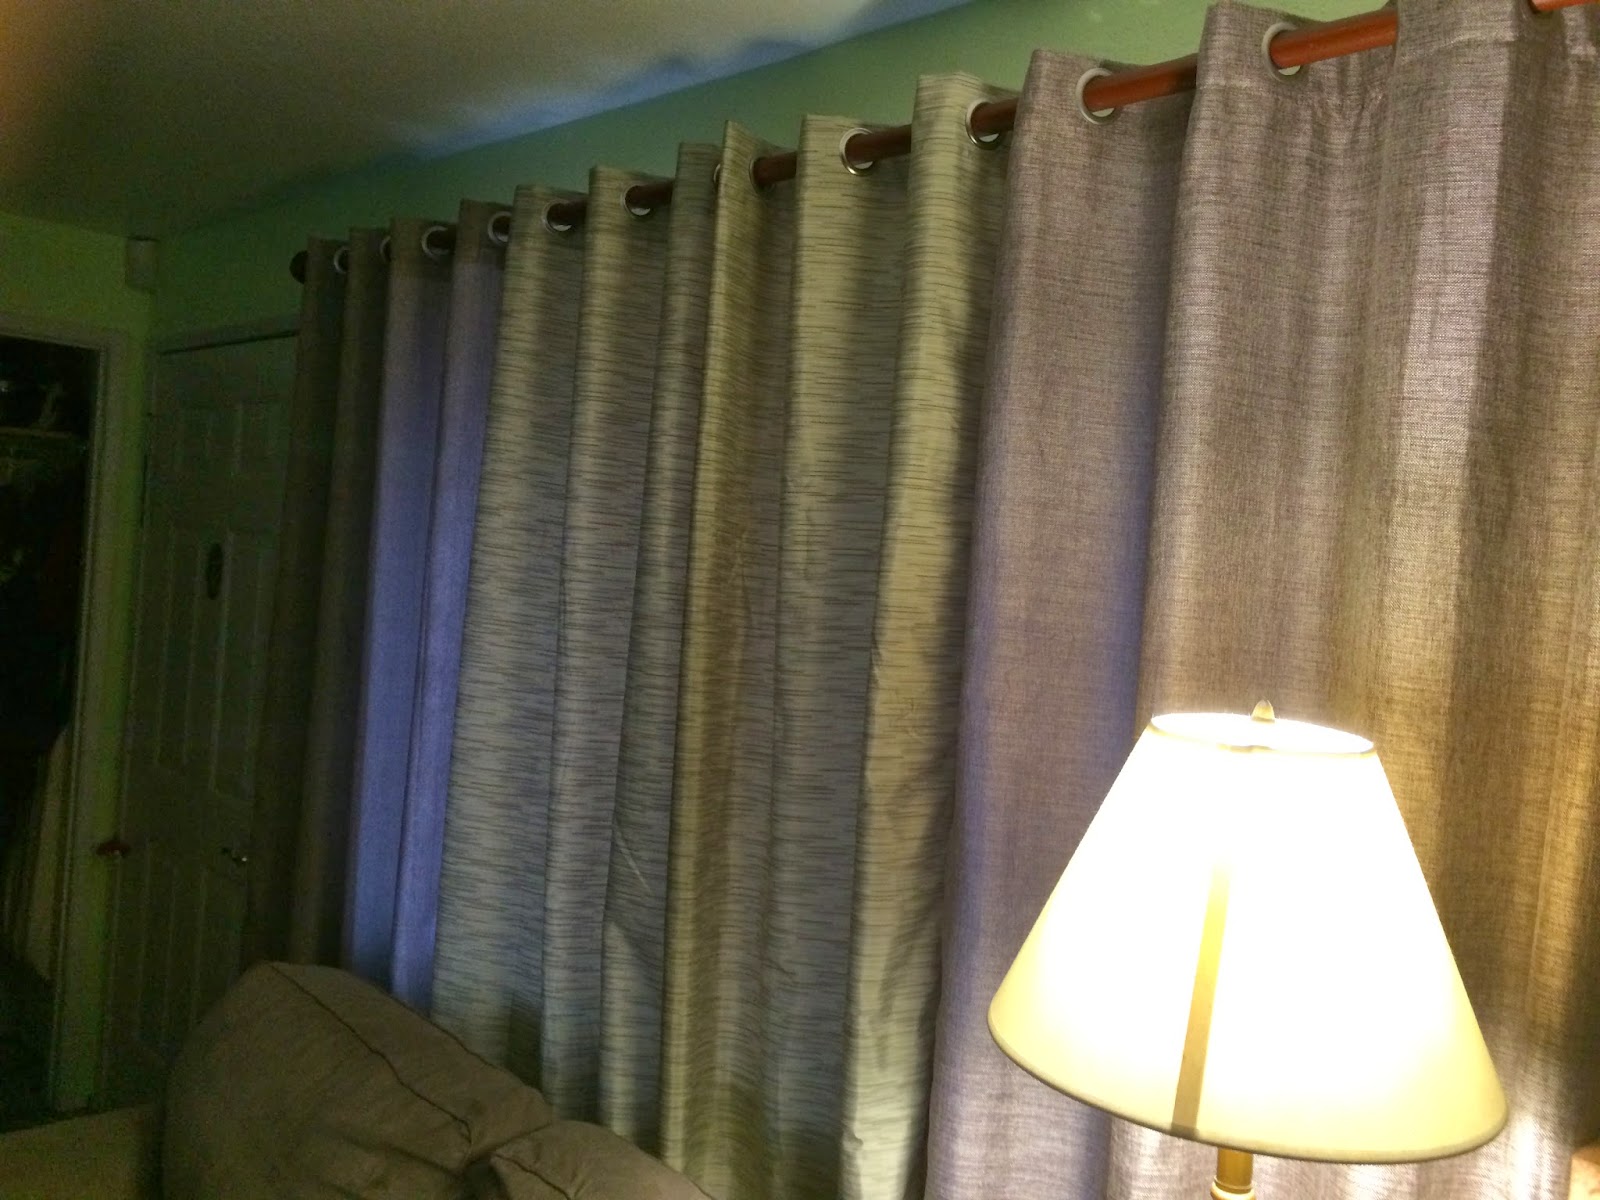
  Before, you could see all the way through the brown curtains.  Lang painted the walls a mint green.

Yesterday, I woke up and just needed to sew something, so came into the craft room and saw a cute little project, so I did that.

This a Sunbonnet Sue Needle Holder.

A lot of times, in your sewing bag/kit/basket, you find that when you are hand sewing something, you often want to use the same needle over again, because it is a comfortable fit to your hand, or whatever.  Where to put the needle so it is handy for the next time.  You carry a bit of fabric with some felt attached to it to store the needle.  Felt absorbs any oils or moisture from your hands and keeps the needle from rusting.

For those unfamiliar with the Sunbonett Sue fanatics out there..haha..here is a sample of what Sunbonnet Sue looks like on a quilt.


So here is the needle holder I made:
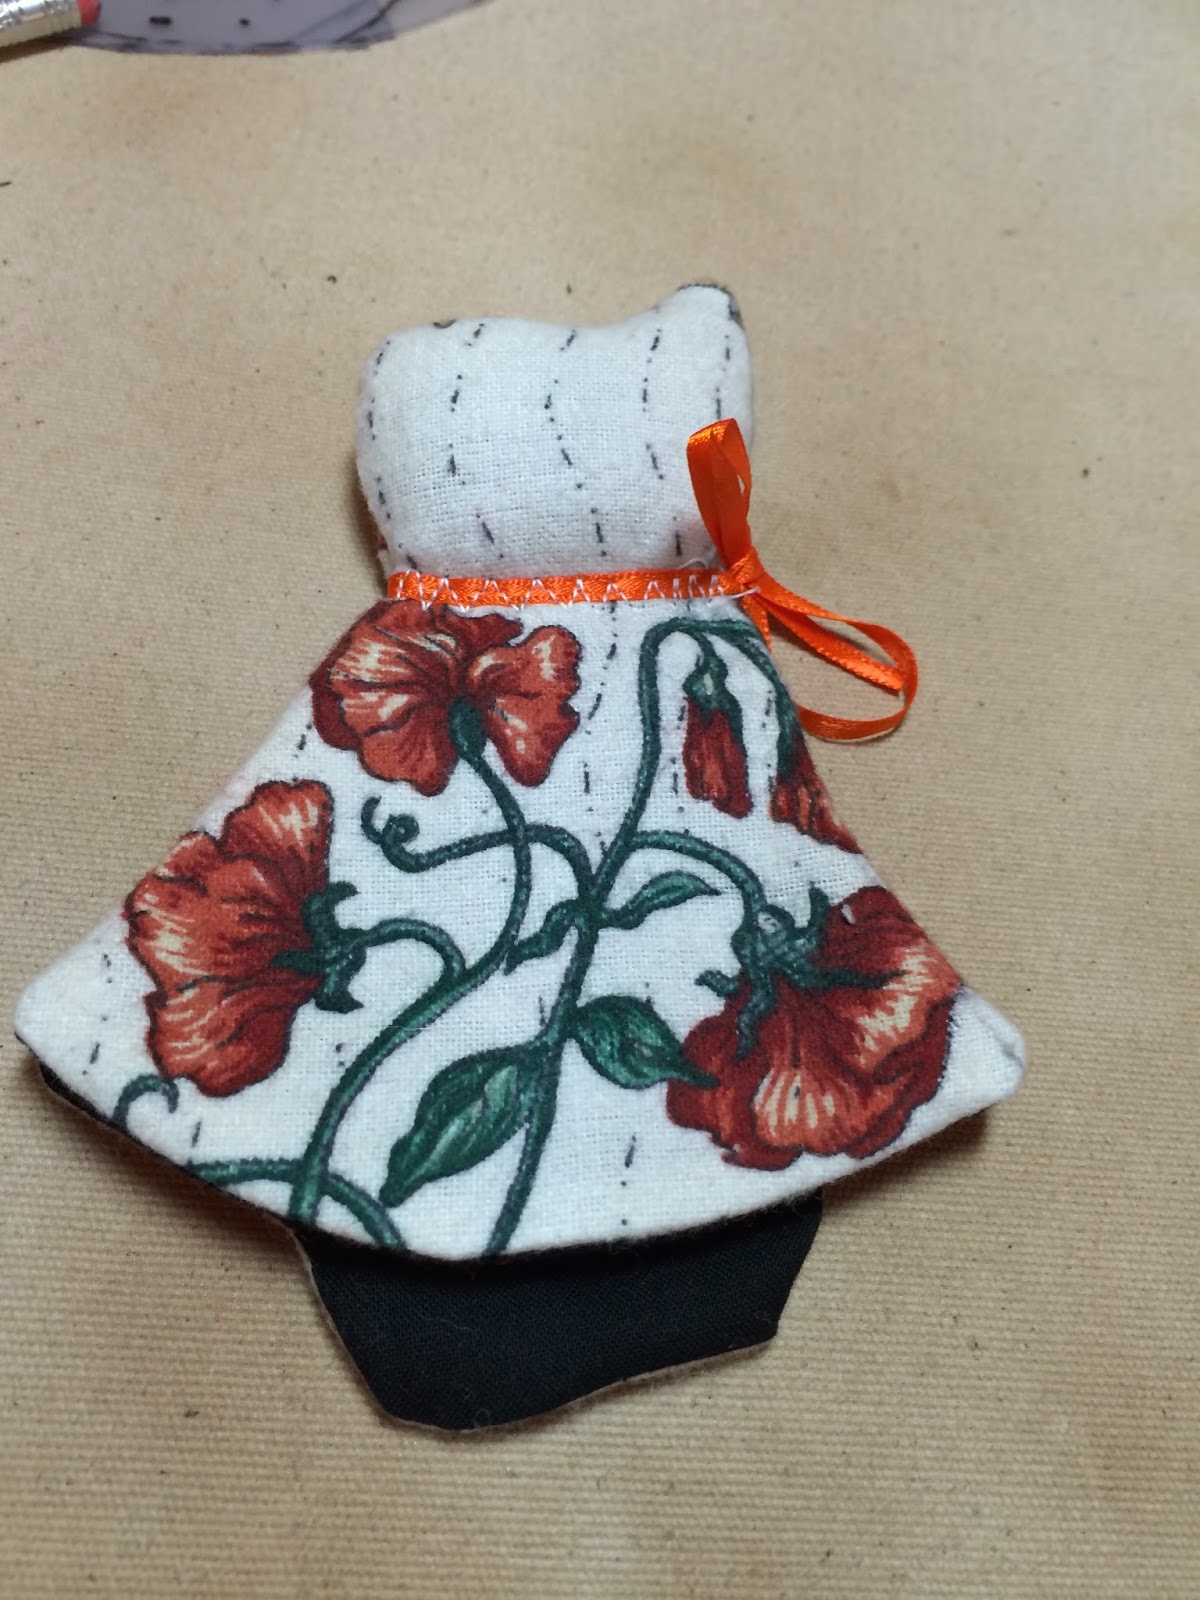
  This is the top of the needle holder.  I stuffed her bonnet so that it could be a pin holder.  The dress lifts up to get to the pins and needles inside.
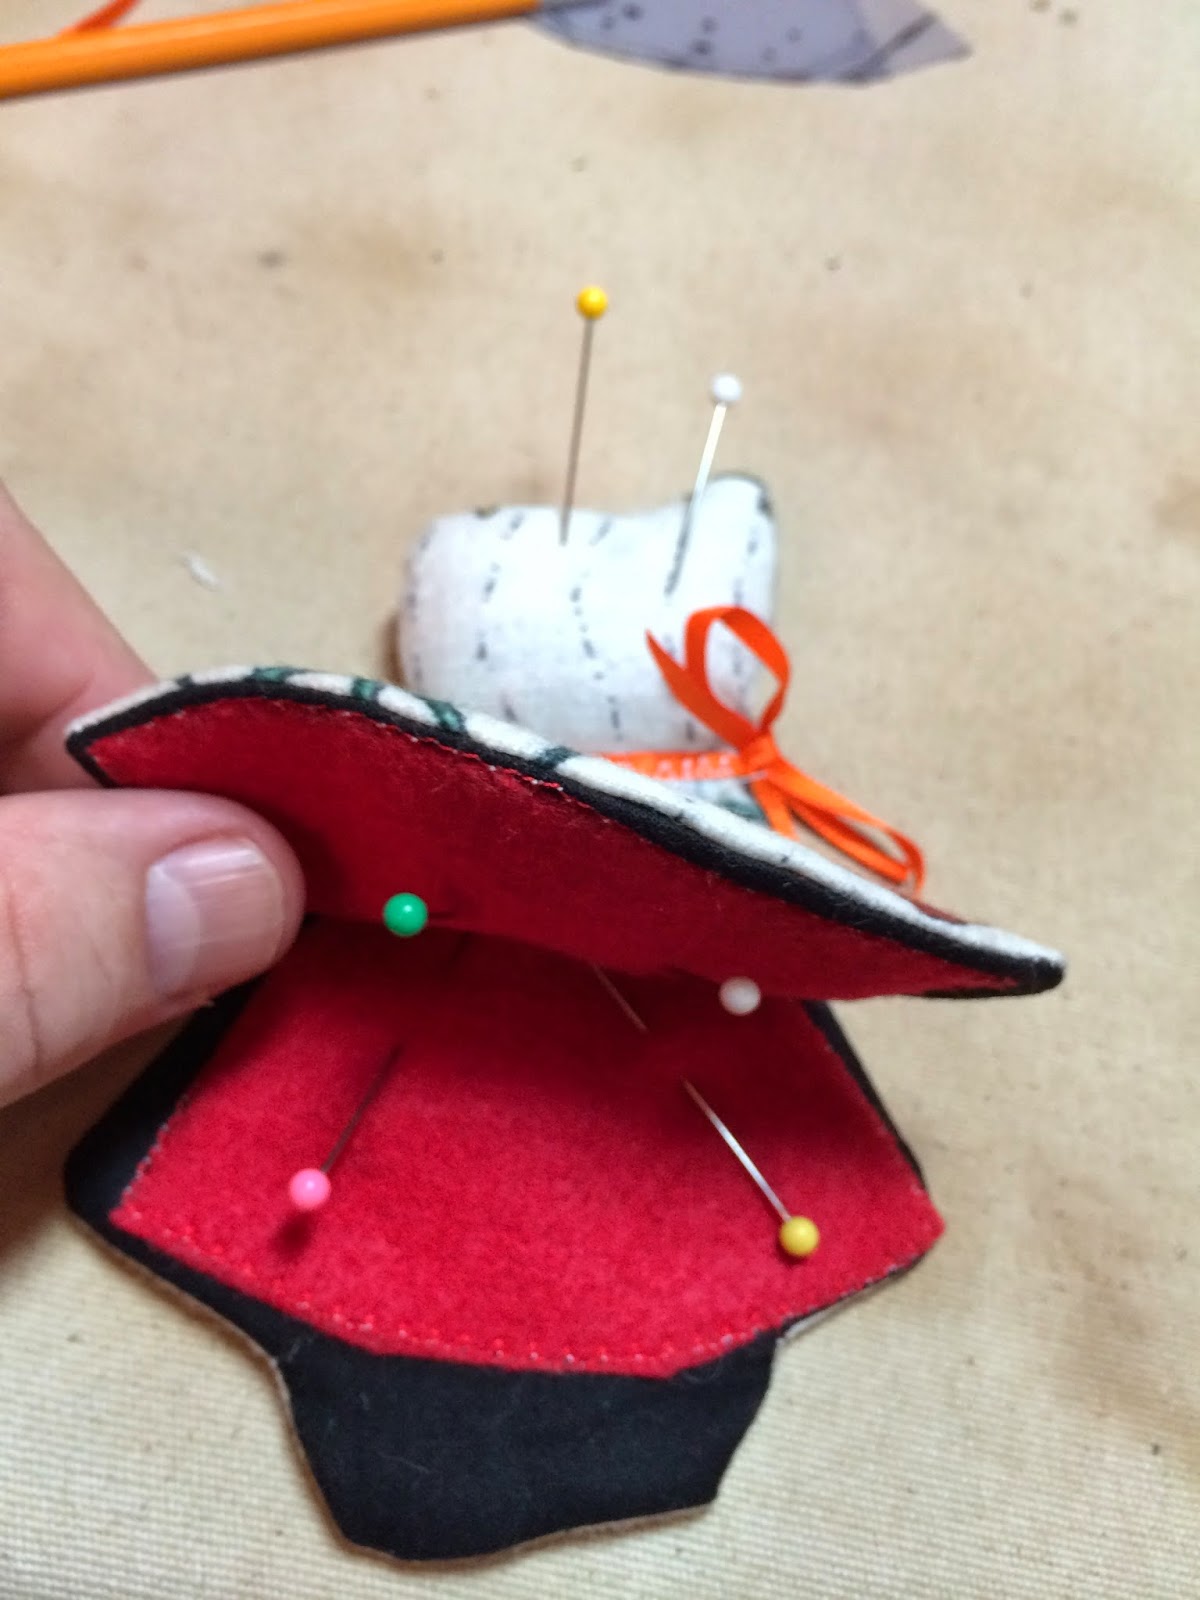
  The red material is felt.  I sewed it down on the black fabric before I attached to floral print.  Missed the mark on my placement of the felt..Better planning next time. haha
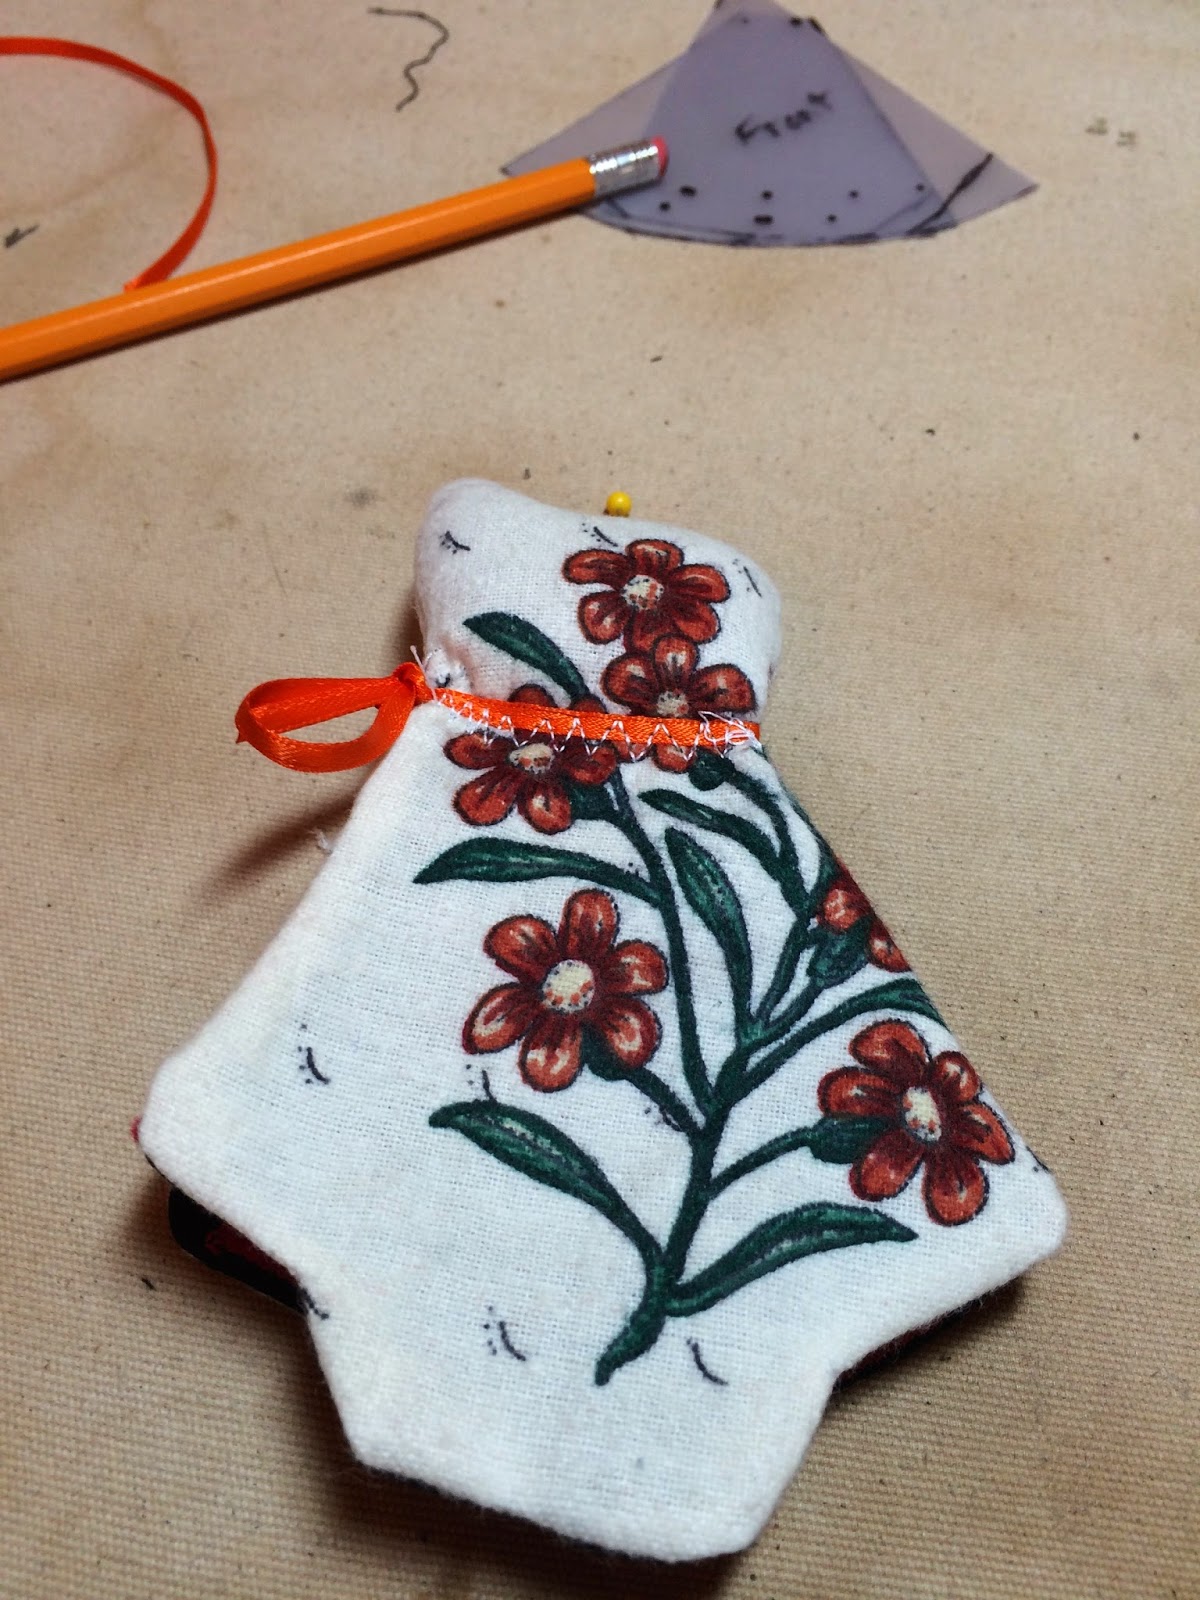
  The back of the piece. Once I sewed the head shut after stuffing it, I sewed a ribbon around her neck which hid the other sew lines and made her look prettier.

Now, I can stash this in my sewing bag..and always have a needle holder ready when I need it.


Friday, February 14, 2014

challenges

I saw a needlework piece at a needlework shop..so took a pic of it and then began trying to figure out how to make it work as  a quilt...

So, here are some pics..


So here is the block design I drew up.

The block would be 18 x 18.  This is 16 x 16.  The dark outer color would be the background.  The Star type block would be a Main Fabric, and the blank square would be a complimentary plain fabric.


This would be a full quilt with each of the Star blocks would be one of the blocks above.  It is out of proportion, but it was suggested to me to make the quilt be outside of the borders.


My challenge is the wings on either side.  It needs to look like you are looking at the kimono from the back, and that the front is opened.  So the wings should have the fabric at angles that show the 3D look.  


I tried a sample piece and don't see the outer wing as being angled enough.  It has taken a few days of thinking, but I think I know how to change the look.  So will wait til after Valentines Day to work on it.


Tuesday, January 21, 2014

Table Runner Experiment

I have wanting to learn how to free motion quilt for quite a while.  According to all the books and articles I have read, practice, practice, practice is the key to learning how to do the task.  Since I am in limbo between projects, I decided to put together a simple table runner and see what I can do.  And  so I made the table runner.

I will say that getting to play with the walking foot tool is fun.  Good thing, there is a small instruction sheet on how to hook up the free loop tool.. haha.

So I went for it and I was more impressed by the skill needed to accomplish something that looks good.  So there are going to be lots of pot holders in my future as I learn this skill..haha..

I also got to practice the other skills of making the binding perfect and gluing the edges down to reduce having to use pins on the binding, which are always the death of me.  I usually spend more time cussing because I have snagged my finger on another pin..

And naturally, Gracie had to bless the material first.


Anyway, here is the table runner.


This is the free motion quilting.  I see the long stitches, the short stitches, the side step direction ending in a point cause I didn't know where the heck the piece was headed.  I can also see I will have to move my machine from its small table to my big cutting table, so I have room to maneuver fabric.


The bright orange fabric is the backing and enough left over for the binding.  The binding is glued in place,  so just need to sew on the decorative stitch I like.


The finished piece.